Saat kita membuat atau mendesain Aplikasi Android yang kita buat di file layout xml, dan juga menambahkan sebuah widget seperti button. terdapat 2 jenis tag fill_parent dan wrap_content dan 2 atribut yaitu
- android:layout_width
- android:layout_height
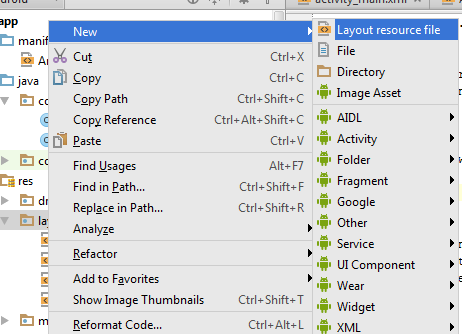
Klik Kanan folder Layout di app> res>Layout
 |
| Buat file Layout |
 |
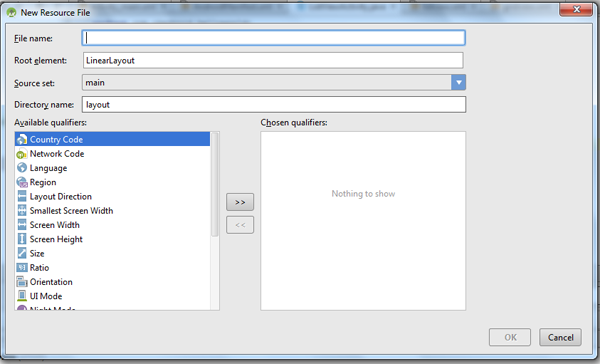
| Buat nama layout |
Atribut tersebut mengambil nilai fill_parent dan wrap_content dan akan menampilkan tampilan yang diminta. Dan juga menggunakan Tampilan jenis Linear Layout pada Layout.xml
1. Saat Tampil Menggunakan Atribut
- android:layout_width="wrap_content"
- android:layout_height="wrap_content"
<LinearLayout
    xmlns:android="http://schemas.android.com/apk/res/android"
    xmlns:tools="http://schemas.android.com/tools"
    android:layout_width="fill_parent"
    android:layout_height="fill_parent"
    android:orientation="vertical" >

    <Button
        android:id="@+id/button1"
        android:layout_width="wrap_content"
        android:layout_height="wrap_content"
        android:text="Okedroid.com"
        android:textSize="30dp" />

</LinearLayout>
Maka akan tampil seperti Gambar berikut:
 |
| Linear Layout |
2. Saat Tampil Menggunakan Atribut
- android:layout_width="fill_parent"
- android:layout_height="wrap_content"
<LinearLayout
    xmlns:android="http://schemas.android.com/apk/res/android"
    xmlns:tools="http://schemas.android.com/tools"
    android:layout_width="fill_parent"
    android:layout_height="fill_parent"
    android:orientation="vertical" >

    <Button
        android:id="@+id/button1"
        android:layout_width="fill_parent"
        android:layout_height="wrap_content"
        android:text="Okedroid.com"
        android:textSize="30dp" />

</LinearLayout>
Maka akan tampil seperti Gambar berikut:
 |
| Linear Layout |
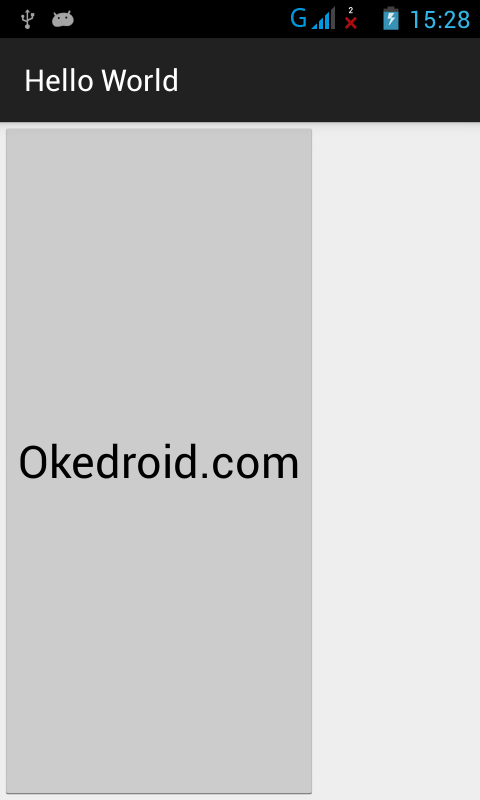
3. Saat Tampil Menggunakan Atribut
- android:layout_width="wrap_content"
- android:layout_height="fill_parent"
<LinearLayout
    xmlns:android="http://schemas.android.com/apk/res/android"
    xmlns:tools="http://schemas.android.com/tools"
    android:layout_width="fill_parent"
    android:layout_height="fill_parent"
    android:orientation="vertical" >

    <Button
        android:id="@+id/button1"
        android:layout_width="wrap_content"
        android:layout_height="fill_parent"
        android:text="Pavan"
        android:textSize="30dp" />

</LinearLayout>
 |
| Linear Layout |
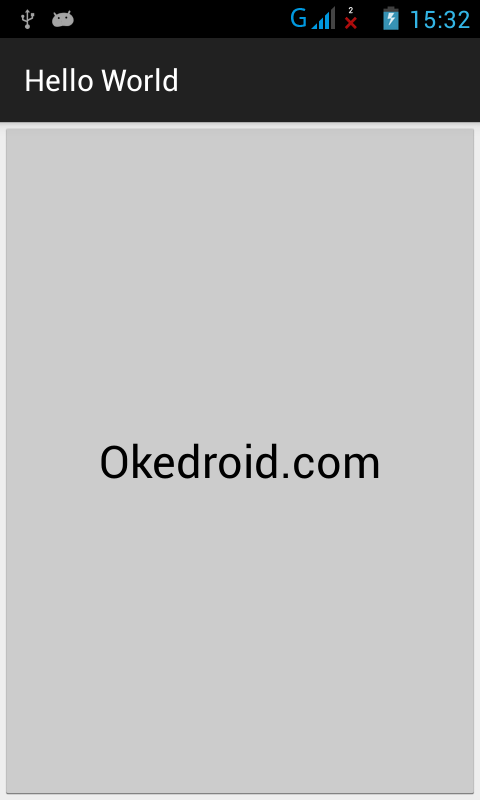
4. Saat Tampil Menggunakan Atribut
- android:layout_width="fill_content"
- android:layout_height="fill_parent"
<LinearLayout
    xmlns:android="http://schemas.android.com/apk/res/android"
    xmlns:tools="http://schemas.android.com/tools"
    android:layout_width="fill_parent"
    android:layout_height="fill_parent"
    android:orientation="vertical" >

    <Button
        android:id="@+id/button1"
        android:layout_width="fill_parent"
        android:layout_height="fill_parent"
        android:text="Okedroid.com"
        android:textSize="30dp" />

</LinearLayout>
 |
| Linear Layout |


Post a Comment for "Belajar Cara Membuat fill_parent dan wrap_content di Layout xml "
Silakan berkomentar dengan baik ,jangan SPAM di komentar ini . NO BACKLINK /LINK HIDUP